Working Moms’ Recipe for Lunch: Mediterranean Quinoa Salad

Super Working Moms’ Mediterranean Quinoa Salad

Quinoa

I guess you can say I joined the bandwagon early during the quinoa craze. A girlfriend of mine made a quinoa salad for a baby shower that I thought was to die for. The salad included quinoa (and that great texture that this grain provides), cranberries, walnuts, green beans, garlic and green onions with a balsamic vinaigrette–“white” balsamic, that is! Turns out my friend’s mother tried variations of the recipe too, and insistently whispered in my ear at the baby shower that WHITE balsamic was the best vinegar to use since it didn’t turn the quinoa an unappetizing brown color.

The quality that I like best about this recipe was first, the texture of the quinoa. Nutty, chewy and filling. I also like the balance of the sweet cranberries with the light tartness of the balsamic.

Since tasting and trying out that recipe myself, I decided to put another twist on a quinoa salad that aligns with my love for Mediterranean food. It still has that great texture and tang but features Mediterranean ingredients such as low-fat feta cheese, kalamata olives, cherry tomatoes, red peppers and green onions with a lemon and extra virgin olive oil dressing. You can make it for dinner and serve it warm, and then eat it cold the next day for a healthy and filling lunch at work. Yum! After all, quinoa is considered a super protein food and you deserve super ’cause you’re a SUPER working mom.

The ingredients for the Super Working Mom’s Mediterranean Quinoa Salad are:

  • Two cups of quinoa, any type
  • Four cups of water
  • 1 cup of reduced-fat feta cheese, crumbled
  • 15 cherry tomatoes
  • One cucumber, peeled, sliced lengthwise and quartered
  • 1 medium red pepper
  • 4 green onions finely chopped
  • 1/4 cup of chopped kalamata olives
  • Juice of 1 medium lemon and zest of half a lemon
  • 1/2 cup of extra virgin olive oil
  • 1/2 teaspoon oregano
  • Salt and pepper to taste

First, boil the water, add the quinoa to the pot and stir. Turn the heat down to medium-low and place a lid on top. Cook the quinoa for about 12- 15 minutes. When the water is completely dissipated, turn the heat off and let the quinoa sit and cool without the lid. Fluff with a fork.

While the quinoa is cooking, chop the green onions, red pepper, cucumber and olives, and slice the cherry tomatoes in half.

Next, make the dressing in a bowl by whisking together the olive oil and lemon juice with oregano, salt and pepper until emulsified. Add the lemon zest for an extra lemony kick.

When the quinoa has cooled and is no longer warm to the touch, add all of the ingredients and toss together. Add salt and pepper to taste.

Serve this in place of your starch side dish for a high-protein dinner to serve your family, and save the left-over salad just for you to savor the next day at work. You know, ’cause anything that is SUPER is okay by me.


Working Moms’ Quick Empanada Dinner

In my book, mixing savory ground beef with pastry dough is a definite “must try.”

Yes I’ve done shepherd’s pie, which is basically browned ground hamburger meat mixed with garlic, onions, carrots and celery put into a pie dish, topped with whipped mash potatoes, and baked until the top is golden brown. (Oh words don’t even describe how much I LOVE this dish!). But no matter how much I love mashed potatoes and the sheer comfort I feel when I eat them alone or with anything savory, they cannot beat the buttery, flaky savoriness of pastry dough.

So when I recently saw an empanada recipe using ground beef and puff pastry dough, I decided to use my standby mixture of browned ground beef, garlic, onions, celery and carrots and tuck it inside some pre-made, fluffy puff pastry dough for a quick and easy, all-in-one, no-utensils-needed dinner with the fam. And to my surprise, my little ones–now age nine and six–had second and third helpings!

Here is what I did to make individual-sized savory, ground beef empanadas. Yum!

Ingredients:

  • 1 package of frozen puff pastry dough, thawed to room temperature
  • 1 pound of 85% lean ground beef
  •  3 garlic cloves, minced
  • 1 celery stalk, finely chopped
  • 1 carrot, finely chopped
  • 3/4 medium red onion, finely chopped
  • 2 tbsp. tomato paste
  • 1/4 cup of water
  • 1 egg beaten with 2 tbsp. water
  •  1 tsp. dried basil
  • Seasoned salt and pepper

First, it is important to make sure your beef is cooked all the way through and browned up nicely to give it that good caramelized taste. Saute your ground beef on high heat and make sure to drain any excess liquid. Season with seasoned salt and pepper and add the garlic, onions and carrot. Cook until the carrot starts to soften. Add the celery and cook until softened a bit.

Next, add the tomato paste and water and stir the hamburger mixture. Place a lid on top of the pan and simmer mixture on low heat so that the veggies are all soft. Then remove the lid when the water has absorbed and cool the mixture to room temperature so that you don’t end up softening your pastry dough when you stuff it for your empanadas.

In the meantime, unroll the two sheets of puff pastry on a floured surface. Grab a bowl, mug or cup with about a four inch diameter. Use this as a cutter to cut out 12 rounds of the pastry.


Begin to wrap your empanadas by filling one side of the pastry round with about two tablespoons of the hamburger mixture. Then, grab a pastry brush or use your fingers to brush the egg mixture onto the edges of the dough that will be sealed together.

Fold the other side of the dough over the top of mixture and either press together with your fingers and fold bits of dough over itself in a “fan” style to seal or use a fork to press down on the two sides to cinch them together. Make sure there are no holes in the dough and that the sides are sealed all the way to avoid the hamburger oozing out of the sides.Then, brush all the little beauties with the beaten egg mixture so they bake up gorgeous and shiny.

Stuff all 12 empanadas and bake at 400 degrees on a foil-lined and greased baking sheet for about 15 minutes or until golden brown. Allow for about one inch of space in between the little gems.

Allow the empanadas to cool and enjoy the crunchy, salty, savory yumminess!

And don’t forget, the mixture can be anything you want it to be–turkey, pork, sausage along with most veggies such as peas or corn. Just make sure that it’s not too watery. You can also make sweet empandas with canned cherry or apple pie filling to satisfy that sweet tooth! I’m even considering buffalo chicken and cheese-stuffed empanadas or queso-stuffed. Both a match made in heaven.

Chicken Enchiladas Verdes: Or As the Locals Would Say ‘Enchiladas Verdes De Pollo’

Enchilada Verdes
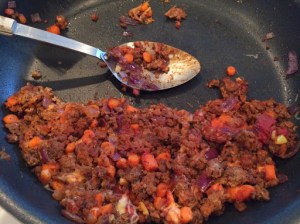
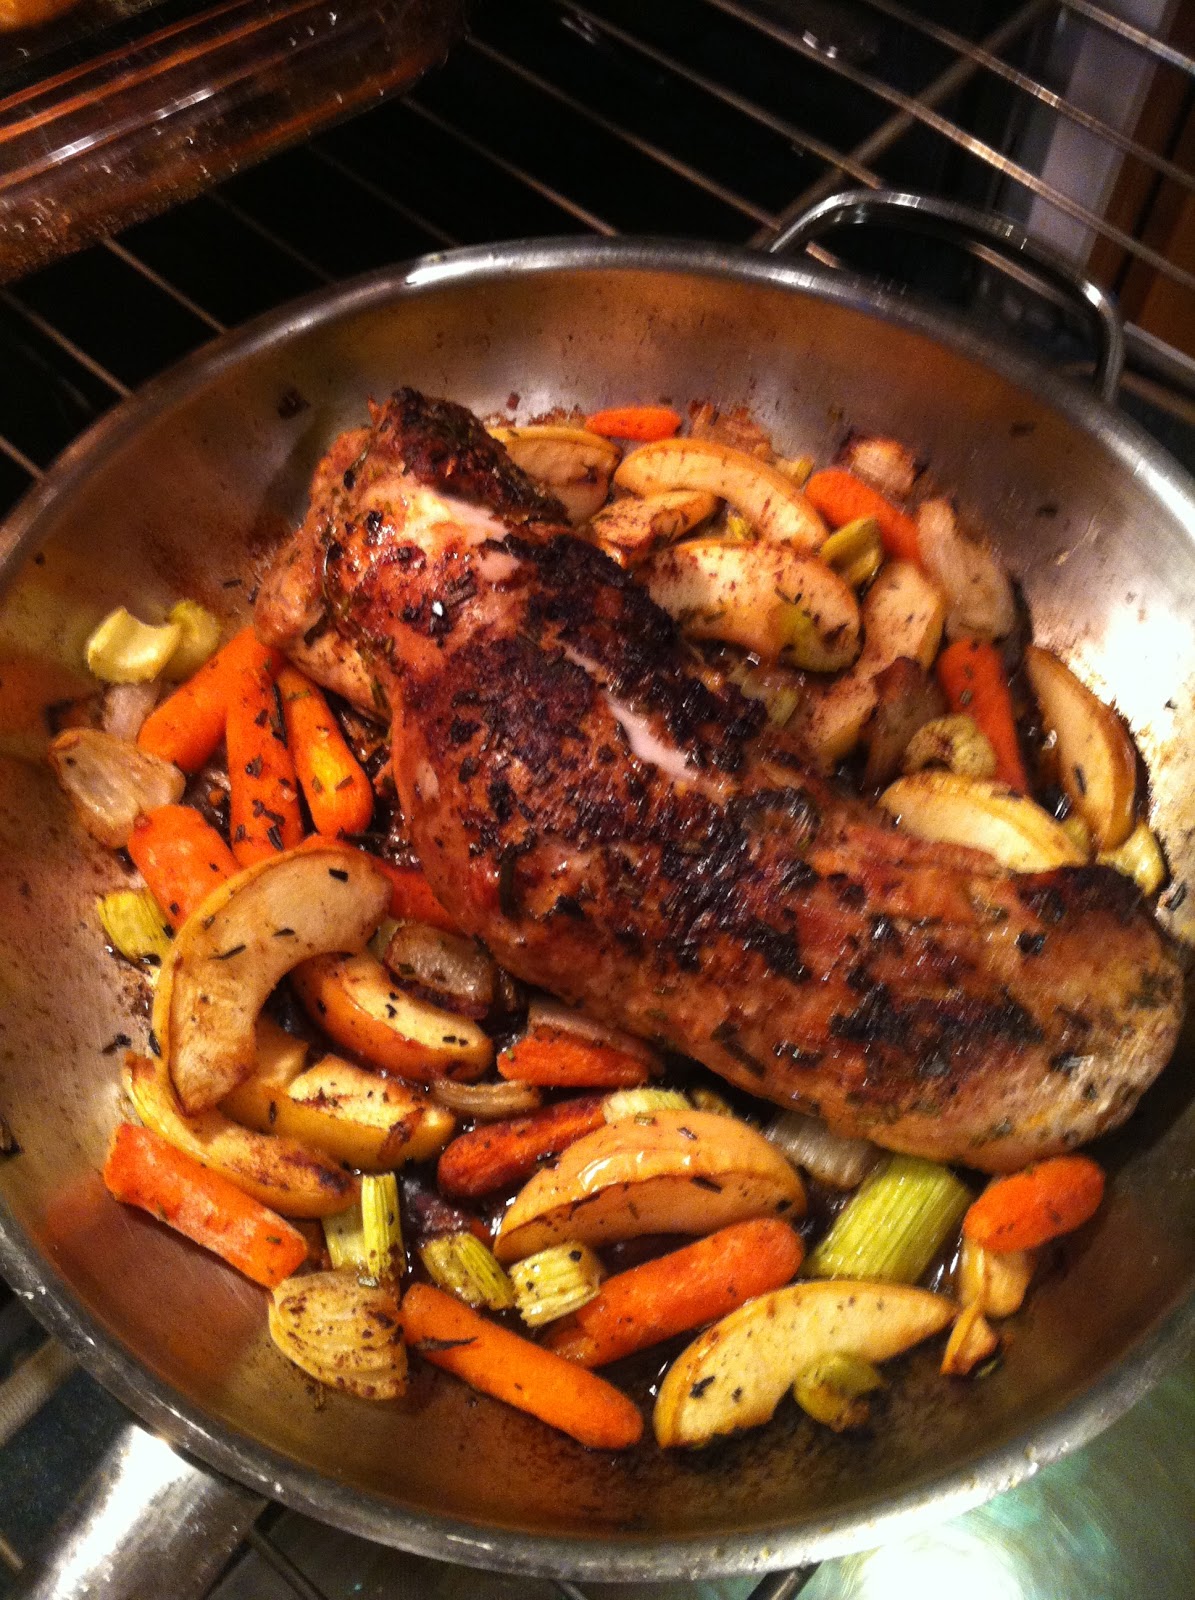
Saucy, cheesy, spicy goodness. That’s all I can say when I think of any type of enchilada dish. Even though I love all types, my favorite is made with the “verde” or green sauce. The sauce is pretty easy to find in most grocery stores too. I usually locate the one I like in the international isle. And make sure you get the BIG can if you like saucy!

One thing I observed about the way that enchiladas are traditionally made throughout the years though, is that the corn tortillas are usually quickly fried in oil to make them a little more pliable and easier to fold. I was almost positive there was a way to achieve the same effect by using a more low-cal approach without noticing a difference in flavor. I found one! So this is how I pay my homage to yet another classic, family-friendly Mexican-style dish that’s pretty darn easy to make after work.

Ingredients:
– 12 corn tortillas
– Cooking spray
– 2 cups of shredded, cooked chicken breast (maybe left over from the night before, or if you can manage baking a couple of chicken breasts the same night with salt and pepper for about 40 minutes at 375 degrees)
– 1 32 oz. can of green enchilada sauce
– ¼ cup diced red onion
– 2 cups shredded reduced-fat cheddar cheese
– Shredded lettuce, diced tomatoes, cilantro, diced green onions and sour cream to top.

Preheat your oven to 450 degrees.

First, line two large baking sheets with foil. Then evenly lay out six tortillas on each baking sheet with as little overlap as possible. Spray each tortilla lightly with cooking spray, flip and spray the other sides. Bake the tortillas in the oven a few minutes until they are soft and pliable but NOT crispy (they will only get crispier when you take them out of the oven.) This will give you the ability to easily roll the chicken and cheese inside the tortillas without them breaking or splitting.

Reduce the heat of your oven to 400 degrees.

Pour all of your sauce into a shallow bowl so you can dip each side of the tortillas. Next, line up your cheese, chicken, onions and sauce in an assembly line fashion and grab your largest rectangular baking pan. Spray the bottom and sides of the pan with cooking spray.

To roll the enchiladas, take a tortilla on a cutting board or large plate, coat both sides with sauce, fill it with 2 tablespoons of chicken and a small handful of cheese, spoon about a tablespoon of sauce over the mixture, and sprinkle with onions. Roll by tucking one side of the tortilla over and then under the mixture and continuing to roll into a cylinder. Place the enchilada seam side down in the baking pan. Repeat for all twelve.

Pour the remaining sauce over the whole pan of enchiladas and top with the rest of the cheddar cheese–I like to top with green onions before baking. Bake about 15-20 until bubbly and brown on top. Top with your favorite toppings! Muy delicioso!
minutes.until bubbly and brown on top. Top with your favorite toppings! Muy delicioso!

Bacon-Wrapped, Queso-Stuffed Jalapeno Poppers for Playoffs and Super Bowl

If you have read entries from this blog before, you might know that I absolutely LOVE Mexican food. If I were asked what my last meal would be, it would be some variation of a fried corn tortilla beef taco with guacamole and a majorly spicy red hot sauce. …I think I might have even written this before…and will probably mention it again…and again…

Luckily I’m not having my last meal but when the temptation for Mexican fare hits, I can race down to the nearest Roberto’s or Alberto’s or any of the other small drive-through Mexican eateries here in Southern California and stuff my face along with the local surfers.

Or I fix it DIY style.

This is one of those DIY American/Mexican-style recipes–the kind that calls to me after drinking some wine on a Saturday night or when I’m planning on making some appetizers for a big game day (football in our house).

It’s a mixture of a cheesy, gooey queso cheese dip stuffed inside a BIG, fresh, spicy jalapeno. Then, best of all, wrapped in BACON! Yes.

On your mark, get set…here’s what you do to make these babies.

Ingredients:

-Six big, fresh whole jalapenos cut in half lengthwise with most of the seeds and membranes removed with a spoon (leave more for spiciness)
-4 oz. of Velveeta cheese or other American cheese
-2 tbsp. of regular or lite sour cream
-1/4 c. of chunky red, green or your favorite salsa
-Two chopped green onions, white and green parts included
-Six slices of bacon, any cut, cut in half across

Directions: 

Heat oven to 400 degrees.

Take your beautiful jalapenos and cut them in half lengthwise, keeping the stem in tact for decoration. Take a spoon and run it through the seeds and membrane to remove most (if you like it semi spicy) or only some (if you like it muy caliente!) of the insides.

Then, put your cheese, sour cream, salsa and green onions in a medium-sized bowl, cover with a paper towel and microwave until the cheese starts to bubble a little. Mix, recover and microwave until smooth but not over cooked, too hard or brown. Sauce should be fairly thick and not runny since you want it to stick to the inside of the jalapenos and not ooze out when you bake them. Add more American cheese and heat if you need a thicker consistency.

Next, take your spoon and fill the jalapenos with the queso mixture. Once they’re all filled, wrap one half bacon slices around each jalapeno and make sure the seams are on the underside of the pepper. Lay each stuffed pepper on a foil-lined baking sheet and bake for about 15 to 20 minutes to cook the bacon. Once the bacon is looking done, turn on the broiler and raise peppers to a higher rack and broil to get that extra crispness on top.

There you go! These guys are game changers.


Mexican Fish Stew to Warm Your Soul

The first time I tasted Mexican fish stew was at a little taquria in the small town of Alpine, Calif. Now if you know Alpine, there’s really not much going on there. A very active Kiwinis club, an even more active corner liquor store and some major Indian reservation casino action. There’s more but those are the main attractions.

But when you’re somewhere like that and you are stopped dead in your tracks by the smell of freshly, homemade corn tortillas wafting out of a small restaurant storefront, mixed with a savory carne asada and lime aroma, you are remiss if you don’t poke your head in and see what you can possibly dig in to for breakfast, lunch, snack or dinner.

See, most of the time in Southern California these little Mexican restaurants are owned by Mexican families that have their abuela (grandma) working in the kitchen and preparing recipes that go back generations. And I had one of those specialties at that taqueria. The best Mexican stew ever.

And what a relief it was. We were all coming down with the worst case of the flu and this was just the dish to lift my spirits. We ordered a big bowl of it and shared it family style–ladeling out big helpings of white fish delicately simmered in chicken broth perfumed with lime and cilantro, chunky tomato, shrimp, crab claws and corn on the cob. Heaven. And so simple.

It wasn’t until a couple of weeks ago that I attempted to make this recipe. I wasn’t sure where to start and I began researching ingredients. I found some recipes with potatoes, fennel and other heavier ingredients. Which I love. But maybe not for this stew in particular. I liked the lightness of this stew and decided to create my recipe based on the simple ingredients that make this dish so delicious.

Here is what I came up with.

Ingredients: 

-4 medium-sized tilapia fillets, each cut into bite-sized chunks
-8 large peeled and deveined shrimp
-1 15 oz. can of roasted diced tomatoes
-1 large onion finely chopped
-3 garlic cloves, minced
-1 bay leaf
-3 limes. Juice two and leave one quartered for garnish.
-1/4 cup of chopped cilantro
-1 tbsp. of Mexican or California chili powder (not too spicy)
-1/2 tsp. of fresh thyme taken off the stem and chopped
-2 tbsp. of extra virgin olive oil
-2 15 oz. cans of fat-free chicken broth
-2 cups of water
-Salt and pepper to taste

 Preparing

Place the chucks of fish in a bowl and mix with the juice of two limes. Set the fish aside and start heating a dutch oven on medium heat. Once hot, add the olive oil, chopped onion, bayleaf and garlic and saute until onions and garlic are soft.

Next, add the chili powder and roasted tomatoes and stir together with the onion mixture. Then add in the marinated fish and add a good amount of salt and pepper. Simmer in the tomato broth, turning once, for about three minutes total.

Then add the chicken broth and water and bring to a gentle simmer. Once simmering add the shrimp, adjust salt as needed and simmer for about 10 minutes.

Ladle the soup into four separate bowls, top each with chopped cilantro and a lime wedge. Muy delicioso!

Whole Chicken In a Crockpot: Who Knew?

Not this working mom. Because if I had, I would have been making this one for years!

My picture of a whole chicken in a Crock Pot was either that I would have to smother it in some type of liquid which, for me, conjures up images of a slimy-skinned, wet and drowned whole chicken that is definitely not nice to look at and just as unpleasant to eat!

Or it could go the complete opposite way. A dried-up chicken with no liquid and a house ready to catch fire from a smoking Crock Pot when I returned home.

So I Googled it.

And low and behold there was a fool-proof recipe for a whole chicken in a Crock Pot. And it’s amazing!

Now, I’m not trying to pass on a recipe that’s not my own. Because with everything I cook I like to put an extra spin on it. It’s the technique here that makes this so good. You could dress up your chicken any way you like and it would still turn out fantastic.

Not only that, whole chickens are about $4 each and sometimes you can stretch one chicken to make two meals such as chicken noodle soup and enchiladas, or chicken alfredo pasta and cold chicken salad. Endless possibilities for very little moola.

This is what I did the night before I was going to set up my masterpiece chicken in the Crock Pot.

Gathered my ingredients:

– One whole chicken, innards removed and patted dry
– Three smashed and minced garlic cloves
– 1 tsp. of grated fresh ginger
– 3 tbsp. of orange marmalade
– 1 tbsp. of soy sauce
– 1 lemon with all of rind grated
– Seasoned salt and pepper
– 1 large whole white onion, roughly chopped

Put it all together:

First, in a medium bowl mix the orange marmalade with the grated lemon rind, ginger, garlic and soy sauce and squeeze half of the lemon into the mixture.

Next, with the chicken on a platter, spread the bulk of the mixture underneath the skin of the breast and legs and then some remaining on top of the skin. Season the whole chicken with a sprinkling of seasoned salt and pepper.

Then add your chopped onion to the bottom of the Crock Pot, place the chicken on top and when you’re ready in the morning—fire that Crock Pot up for at least eight hours. That’s it! The onion and chicken itself provide enough liquid for the chicken to braise. But what’s unreal is that there’s enough fat in the skin that the outside turns out golden brown and delectable. There’s nothing better than browned, wonderful crispy chicken skin. (Well…maybe.)

There you have it. Eat the chicken as is in one dinner setting or cut and divide for multiple dishes. It’s completely up to you!

A Chance to Let Go In Colorado

Little did we know that a family vacation to Colorado in late August would actually give us the dose of “reality” all four of us needed! Although we have taken trips back to the Midwest to visit family, this trip was something different and the first of its kind for us!

We were fortunate that we could use my mother’s timeshare to exchange for a lakeside tri-level unit in Pagosa Springs Colorado, an hour outside of Durango. Our goal was to RELAX as much as possible. After all, I had just started a brand new public relations job in June, the kids were busy with their summer activities, and my husband had hardly taken any substantial time off in a year and a half.

It was time for downtime. And in my mind, that meant more time for cooking too. Fortunately, there was a fully-stocked kitchen in our room and we used everything that was available to us.

On the hour ride into Pagosa from Durango, we came across a country-style general grocery store–right out of the Old West. I went in alone and tried to select the essentials we would need over the next few days.

Of course fresh fruit was essential. I grabbed a pineapple, cantalope and some wonderful grapes. The veggies were a little sketchy but I found some great yellow squash. We were in the mood for steaks that night so I grabbed some rib eyes. I also grabbed some hamburger and thought, “a shepherd’s pie would be wonderful for tomorrow.” I made sure I had some onion, a bag of russets, butter and some sour cream for the ingredients of my pie–loving the idea of making mashed potatoes. One of my favorite things to eat on earth! The theme for this trip was comfort and simplicity.

When we finally arrived, it was heaven to look out over our small lakefront view, whip out some butter, throw it in a hot pan and sizzle those steaks while sauteeing some yellow squash on the side. We sat down–all four of us travel-worn but content–my husband opened some wine, we all breathed a sigh of relief, said a prayer and felt blessed that we were safe and sound in a world that belonged solely to us for an entire week. Simple as that.

If you would like to see the recipe for my shepherd’s pie, view this previous blog entry and enjoy!

Google+

Quick Pot Pies to Die For: How to Make Individual Pies for a Family of Four

I can remember when I was a kid and I could hardly wait for the Stouffer’s chicken pot pies to come out of the oven after about 40 minutes—all browned on top and oozing down the sides of the mini aluminum pie pan with creamy goodness. I just wanted to devour the thing right when it came out of the oven but quickly learned it wasn’t worth burning my mouth off! I had to be patient. 

Now days I still crave the yumminess of a pot pie but for some reason, the frozen ones don’t appeal to me as much. Maybe it’s because the tiny aluminum pie tins were replaced with microwavable cardboard. Or maybe it’s the sheer number of calories and fat in them that I just can’t bring myself to splurge on.

Maybe, being a mom of two with a job and a household to manage, I really just don’t have the time to wait for them to bake and I refuse to microwave them! I don’t know. But what I do know is that I made my own several weeks ago and it was everything I wanted in a pot pie.
I have to say this recipe was a long time in the making. First, I knew I had to get four medium-sized ramekens that would hold four individual pies. I wanted each of us in the family to have our very own! I finally found those at a World Market store.
Next, I had to find some way to make a low-calorie version of the creamy sauce that defines a pot pie. The inspiration hit me when I remembered my husband’s favorite meal: Chicken baked in Campbell’s Healthy Request Cream of Chicken Soup. There are only 60 calories and 2 grams of fat per 1/2 cup serving!

Then I needed to figure out if I wanted to make my own crust or not. That became a downright “no” when I finally picked up some Pillsbury Refrigerated Pie Crust at the grocery store. Throw in a little frozen peas and carrots and I figured I could really pull this thing off!

This is my Chicken Pot Pie to Die For recipe:

Ingredients:
-Two large chicken breasts, cubed into one inch chunks
-One tablespoon of olive oil
-Two cans of Campbell’s Healthy Request Cream of Chicken Soup
-1 ½ cup of nonfat milk
-1/2 cup of frozen carrots and peas
-1 package of Pillsbury Refrigerated Pie Crust, kept refrigerated
-1 egg, beaten
-Seasoned salt and pepper to taste
To start, preheat your oven to 400 degrees. Next, season the cubed chicken in a bowl with seasoned salt and pepper and mix. Heat olive oil in a large skillet and sauté the chicken until brown on the outside and done in the center.
Then, add the two cans of cream of chicken soup to the pan along with the milk. Reduce the heat to simmer and stir the mixture. Then add the frozen peas and carrots. Place a lid on top and simmer for about five to eight minutes.
In the meantime, unroll both pieces of pie crust on a floured surface. Beat the egg in a bowl and set aside. Take a ramekan and place upside down toward the outer part of the crust, leaving about an inch and a half of crust outside the rim. Take a knife and cut around the circumference of the rim leaving an inch and a half around the whole circumference. Place the circle of dough aside.
Next, dip a pastry brush in the egg and brush onto the rim of the ramekan. Then fill the dish to the top with the chicken mixture and place the circle of dough on top of the dish and crimp the edges in an up-and-over style. It does not need to be perfect! Combine the scraps of dough and roll out flat again to create crusts for the remaining pies.
Cut a slit in the middle and brush egg lightly over the crust of each pie. Bake the pot pies on a foil-lined baking sheet in the oven for 20 to 25 minutes or until the top is brown and bubbly. Just the way I like it! And the kids love having their own pot pies to eat and digging right in.

This is definitely one of the comfort foods that takes me way back. All I would need now to transport me back in time is an episode of the Odd Couple and a TV tray! Okay, I’m dating myself.

Roasted Pork Loin: An Intimate Valentine’s Day Dinner for Two

Planning a romantic Valentine’s Day evening can be tricky with two little ones. We tried to remember the other night if our babysitter had a boyfriend she might be spending the evening with. Would it be rude to ask her right before the holiday to sit with the kids? Then there is the issue of making dinner reservations far enough in advance and of course, the cost of dinner. Believe me, it’s a holiday we would definitely consider splurging on. With a seven- and four-year-old, we’re realizing how important it is to grasp every moment we can to embrace our time as a couple!

However, this year I think we’ve decided to have a romantic dinner at home after the kids have gone to bed (always the best time for the possibility for at least a little romance!). And I have the perfect dish in mind–a one-pot roasted pork loin with apples and veggies and a honey, horseradish and balsamic sauce.
Preparing a pork loin that is juicy and tender has only been a recent achievement for me. I don’t know why, but pork loin intimidated me and I think it was because I didn’t have a solid method for cooking it. Now, I have a tried-and-true method that is so good!
First, I usually skip the regular grocery store brands and go for the pork loins from Trader Joe’s. They’re a little smaller and a less intimidating in my opinion. Each one is a about a pound and easily feeds two people. This is my new fool-proof recipe for roasted pork loin with apples and veggies. It makes a great no-fuss Valentine’s Day dinner or a satisfying comfort meal any time of year:
Ingredients:
-1-pound pork loin (a little over a pound will still work)
-2 tart red apples, quartered
-2 russet potatoes, peeled and diced
-1/2 yellow onion cut into big chunks
-10 baby carrots
-1 green zucchini, diced
-1 stalk of celery, cut into bite-sized pieces (optional)
-Two tablespoons extra virgin olive oil
-1 tablespoon horseradish
-1 1/2 tablespoons honey
-1 tablespoon white balsamic vinegar
-1 tablespoon garlic powder
-Seasoned salt and pepper to taste
Heat the oven to 450 degrees.
First, you will need a skillet or dutch oven with a lid that can be transferred from the stove top to the oven. I like to use my stainless steel pan because it’s great for achieving some great browning of the meat.
Next, cut all of your veggies before starting to cook the meat, place into a big bowl, toss with one tablespoon olive oil and season with half of the garlic powder, seasoned salt and pepper.
When all of your ingredients are ready, season the pork loin with one tablespoon of the garlic powder and a generous amount of seasoned salt and pepper on all sides. Then heat your skillet to medium high with one tablespoon of olive oil and add the pork when the pan is sizzling hot. Sear the meat until browned on all sides. After the meat is caramelized on all sides, add the veggies around the pork in the pan and lightly toss.
Transfer the whole skillet without a lid to a preheated oven onto the middle rack. Cooking time will be about 35 to 40 minutes if you would like to set a timer. When there is 15 minutes of cooking time remaining, add a lid to the skillet. Remove skillet from oven with oven mitts when cooking time is finished and it should look about like this!
Transfer the pork to a serving plate and cover with foil. Be careful when touching the lid, it’s HOT! Transfer the veggies to a serving bowl with a slotted spoon and cover with foil, leaving the remaining juices in the pan.
Heat the juices on the stove top over medium heat. Add the horseradish, honey and balsamic vinegar to the pan and stir with a whisk. Allow sauce to thicken and turn off the heat. Then, slice the pork loin into two inch medallions and arrange the apples and veggies nicely around the meat on the plate. Drizzle sauce over the top of the meat. Bring the plate to the table and enjoy this healthy, lean, comforting meal at a hopefully quiet and romantically-set table. And oh, don’t forget the red wine!

Ravioli With Pesto Cream Sauce for National Pasta Day

It’s National Pasta Day today and in honor of the occasion, here is an easy recipe for ravioli with pesto cream sauce that I made the other night, which is a true keeper!

I’m always on the lookout for ingredients at the grocery store that I can dress up and make into a low-cost, semi-gourmet meal that the whole family enjoys. This week, I chose a frozen bag of store-brand mini cheese ravioli for about $5. I also grabbed some fresh pesto sauce that I could use with the dish and for other tasty meals and snacks during the rest of the week.

There is something so comforting about ravioli–they’re like mini packages filled with a cheesy surprise inside. And when combined with a creamy, basil and garlic pesto sauce this dish is a satisfying meal sure to please even the pickiest eaters.

I’ve found that mini ravioli is a good choice for the kids. It’s a perfect bite for them and easy to either stab with a fork or pick up by hand to devour. But the best thing about these little pasta gems is that they cook so quickly! I like to add a little broccoli too to this dish to round it out into a complete meal.

This is all you need to do:

Gather the ingredients:
-1 pound of frozen mini cheese ravioli
-3 tablespoons of pesto
-1 cup of broccoli flowerets
-3/4 cup of 2% milk
-1 tablespoon of flour
-1/4 cup of cold water
-Shredded Parmesan cheese
-Salt and pepper to taste

Bring a sauce pot (that coordinates with a steamer pot on top) of water to a boil. Add the broccoli to the steamer and place on top of the boiling water with the lid on top. Let the broccoli steam for about three minutes until it is bright green. Then, remove the steamer pot of broccoli and set aside to combine with the ravioli later.

Add the ravioli to the boiling water, stir and let boil for the recommended amount of time. While the ravioli are cooking, add the pesto sauce to a large skillet on medium heat and allow it to start cooking a bit. Add the flour to the cold water and whisk until there are no lumps. The mixture will be used to thicken the sauce. Next, add the milk to the pesto sauce in the skillet and whisk until combined. Bring to a light boil. Then add enough of the water/flour mixture to the sauce to thicken it to the consistency your prefer. Add salt and pepper to suite your taste. Then all you need to do is drain the ravioli and add it along with the broccoli to the skillet, add a handful of parmesan cheese and toss. Manga!